Learn how to remove or transfer the SIM card in your iPhone or iPad (Wi-Fi+ Cellular models).
After you remove or transfer your SIM card, insert the tray completely and in the same orientation that you removed it (it will fit only one way).
Use only the SIM tray that came with your device. For example, a SIM tray from an iPhone 6s will not fit in an iPhone 7.

iPhone
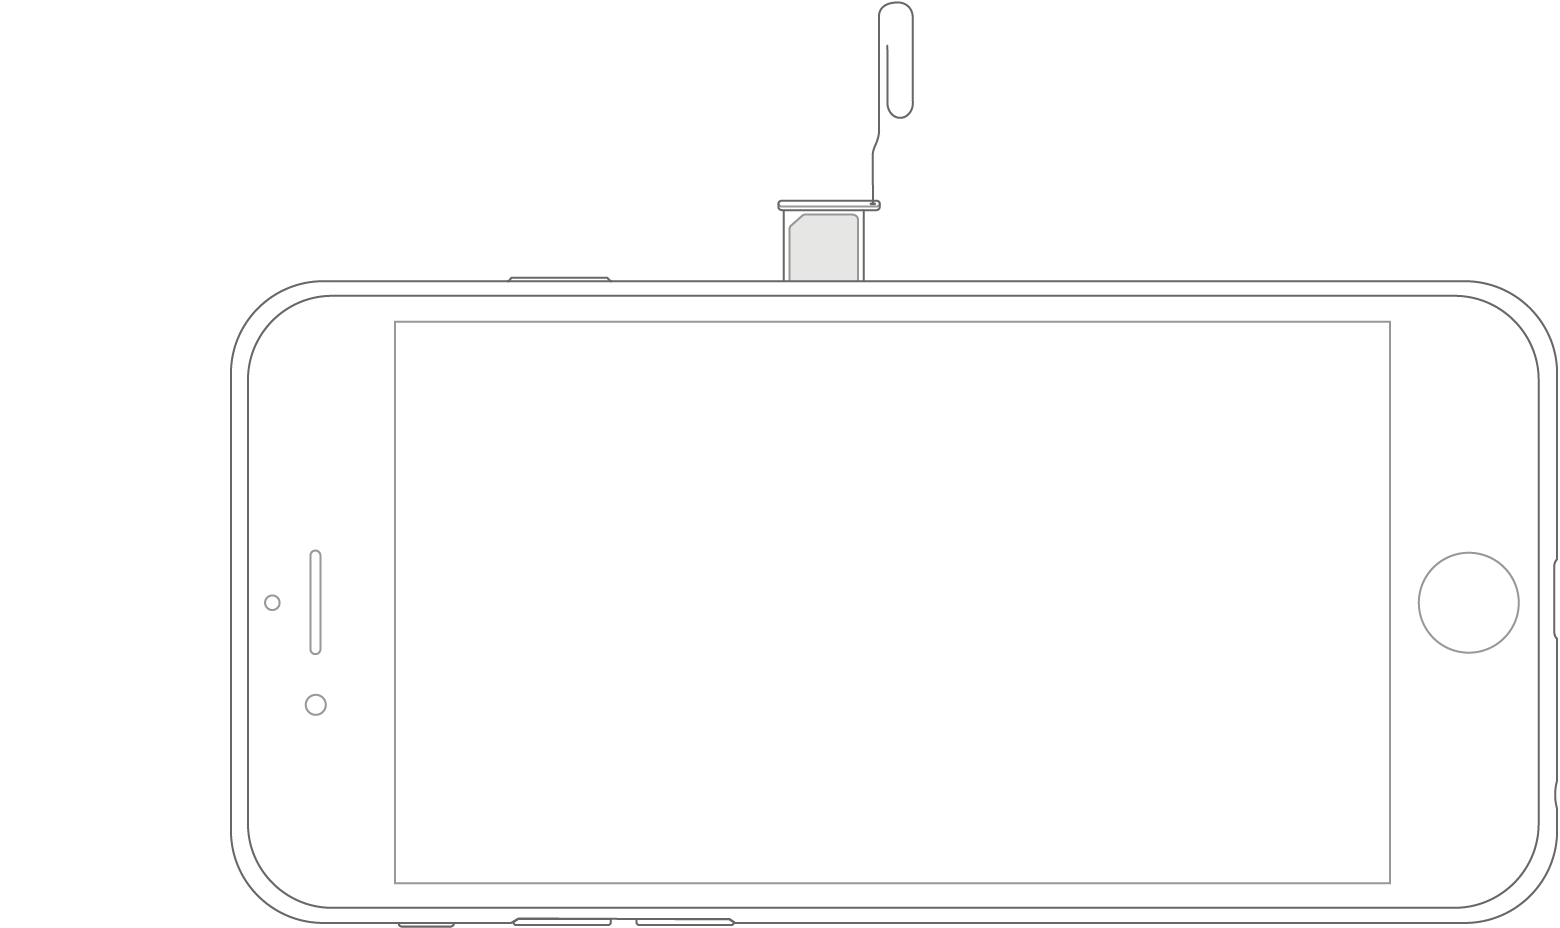
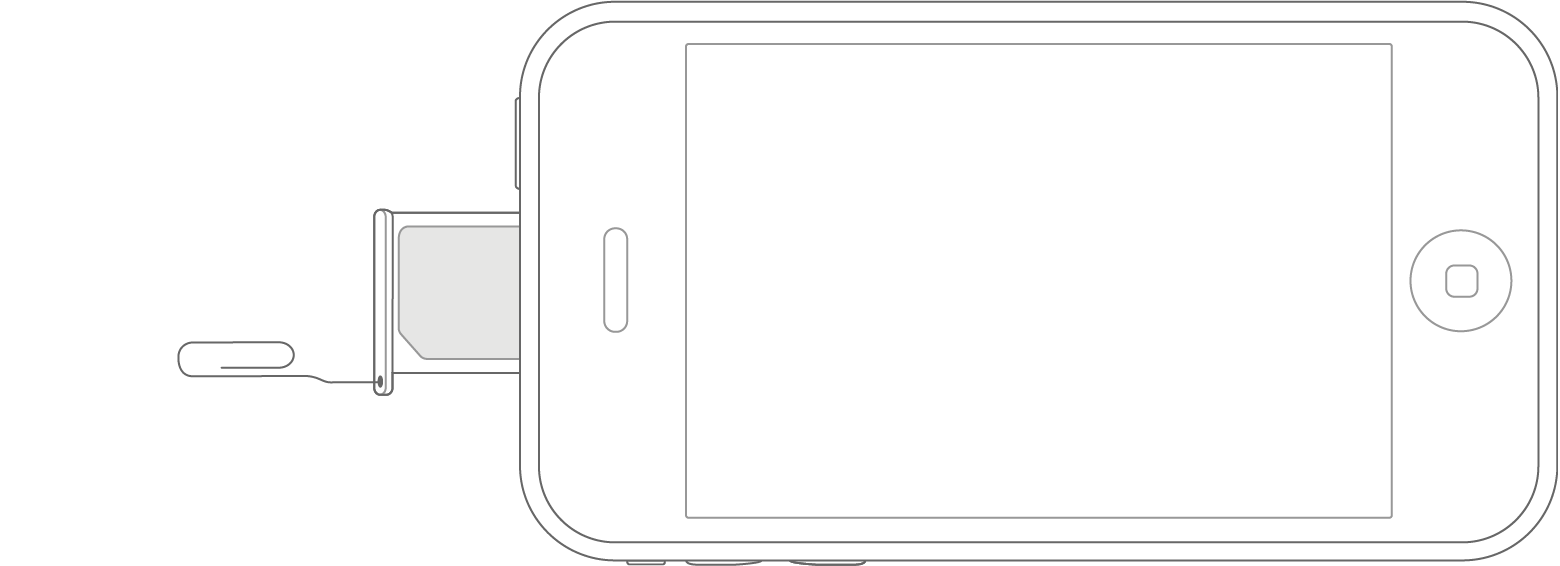
To pop open your device's SIM tray, insert a paper clip or a SIM-eject tool into the hole beside the tray. Find your model below to locate the SIM tray.


Find the SIM tray on the side:
- iPhone 7 Plus
- iPhone 7
- iPhone 6s Plus
- iPhone 6s
- iPhone 6 Plus
- iPhone 6
- iPhone SE
- iPhone 5s
- iPhone 5c
- iPhone 5
- iPhone 4s
- iPhone 4 (GSM model)


Find the SIM tray on the top:
- iPhone 3GS
- iPhone 3G
- Original iPhone

iPad
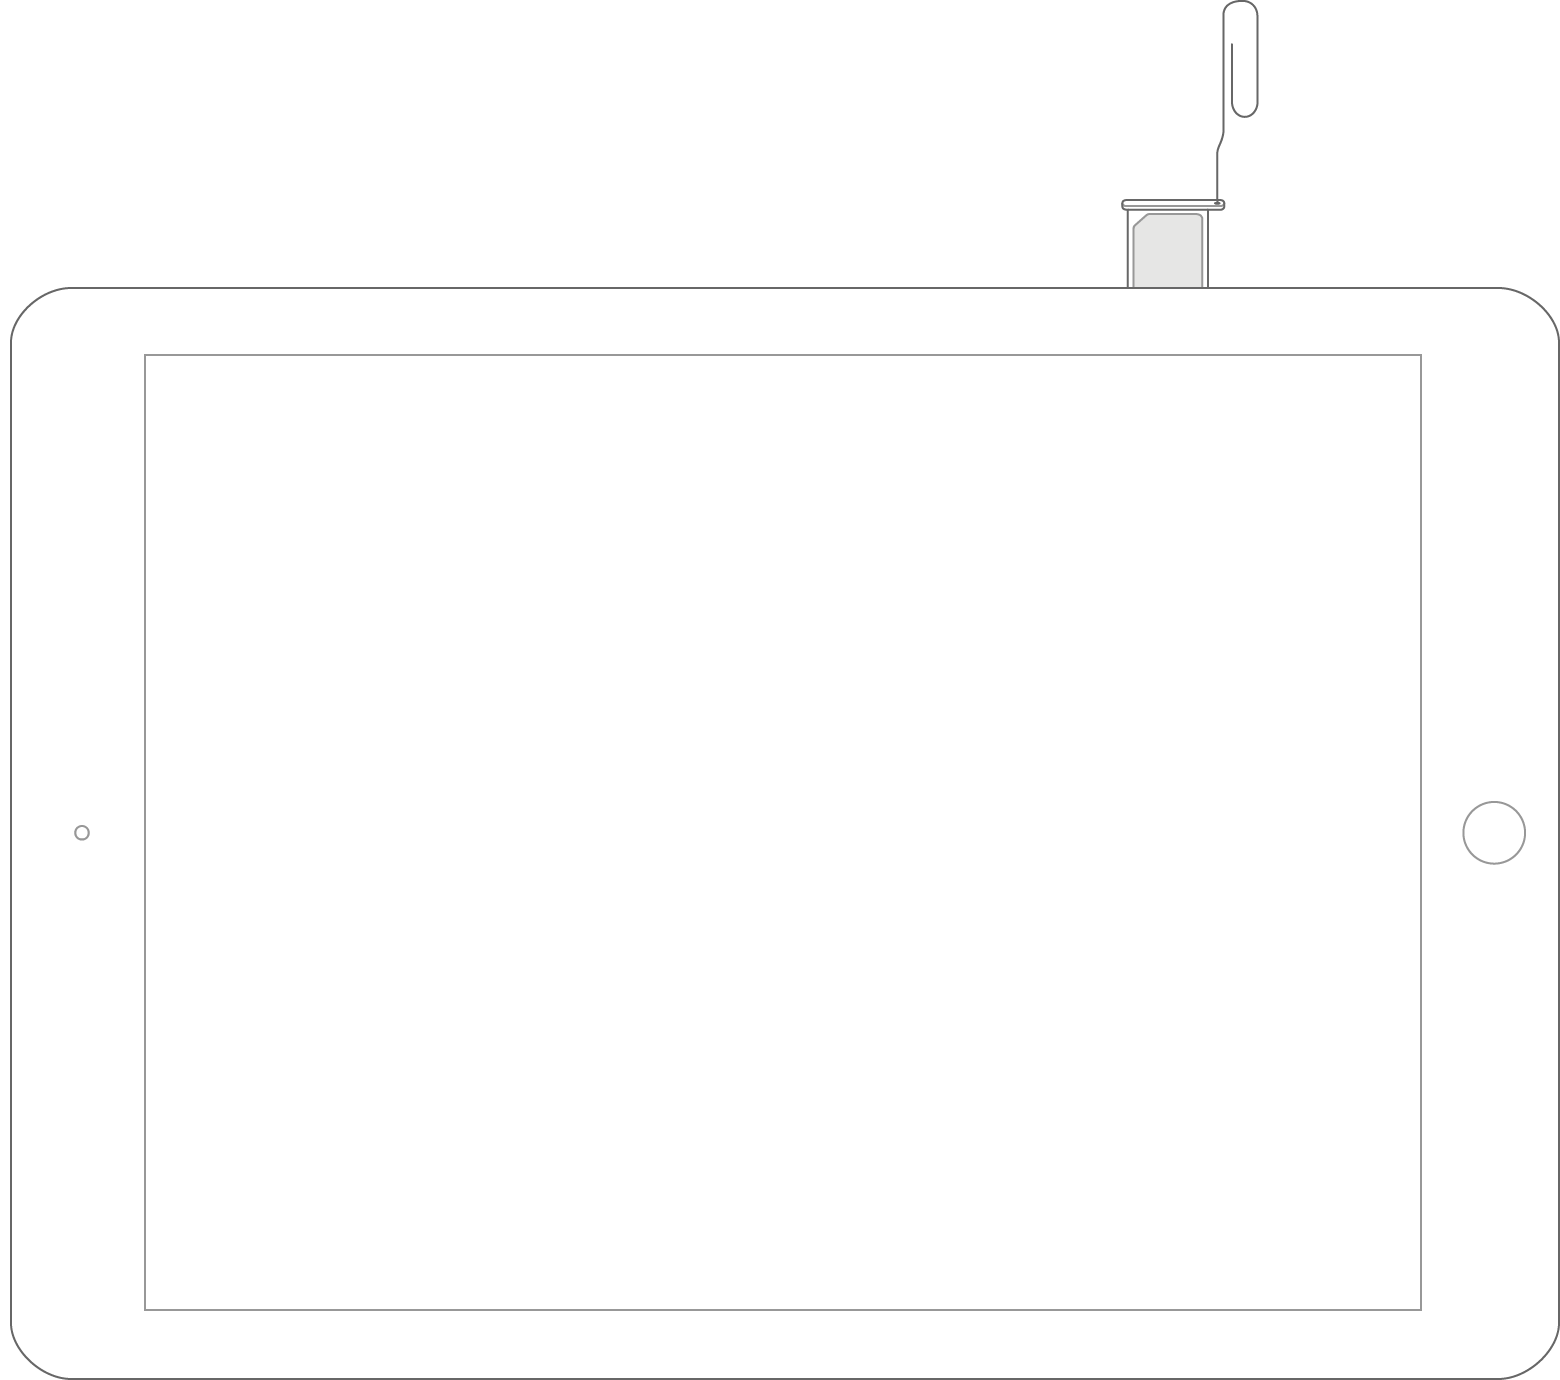
To pop open your device's SIM tray, insert a paper clip or a SIM-eject tool into the hole beside the tray. Find your model below to locate the SIM tray.

Find the SIM tray on the right side, near the bottom:
- iPad (5th generation)
- iPad Pro (9.7-inch)
- iPad Pro (12.9-inch)
- iPad Air 2
- iPad Air
- iPad mini 4
- iPad mini 3
- iPad mini 2
- iPad mini


Find the SIM tray on the left side, near the top:
- iPad (4th generation)*
- iPad (3rd generation)*
- iPad 2 Wi-Fi + 3G (GSM model)*
*When you insert your paper clip or included SIM-eject tool, use a 45° angle


On iPad Wi-Fi + 3G, you can find the SIM tray on the left side, near the bottom.

Learn more
- Since your Voicemail messages might not be available after you swap a SIM card, learn how to save Voicemail messages.
- Find out which SIM card your devices uses.